Spoiler-light practical guide
Zero Parades Stress Guide: How to Lower Anxiety, Fatigue & Delirium
To lower stress in Zero Parades, recover each gauge differently: rest at the safe house resets one gauge per night, Rumba! Canned Coffee cuts fatigue fast, and the red phone booth with the dolphin sign at Bootleg Bazaar removes anxiety. This guide covers all three gauges and when to stop pushing checks.
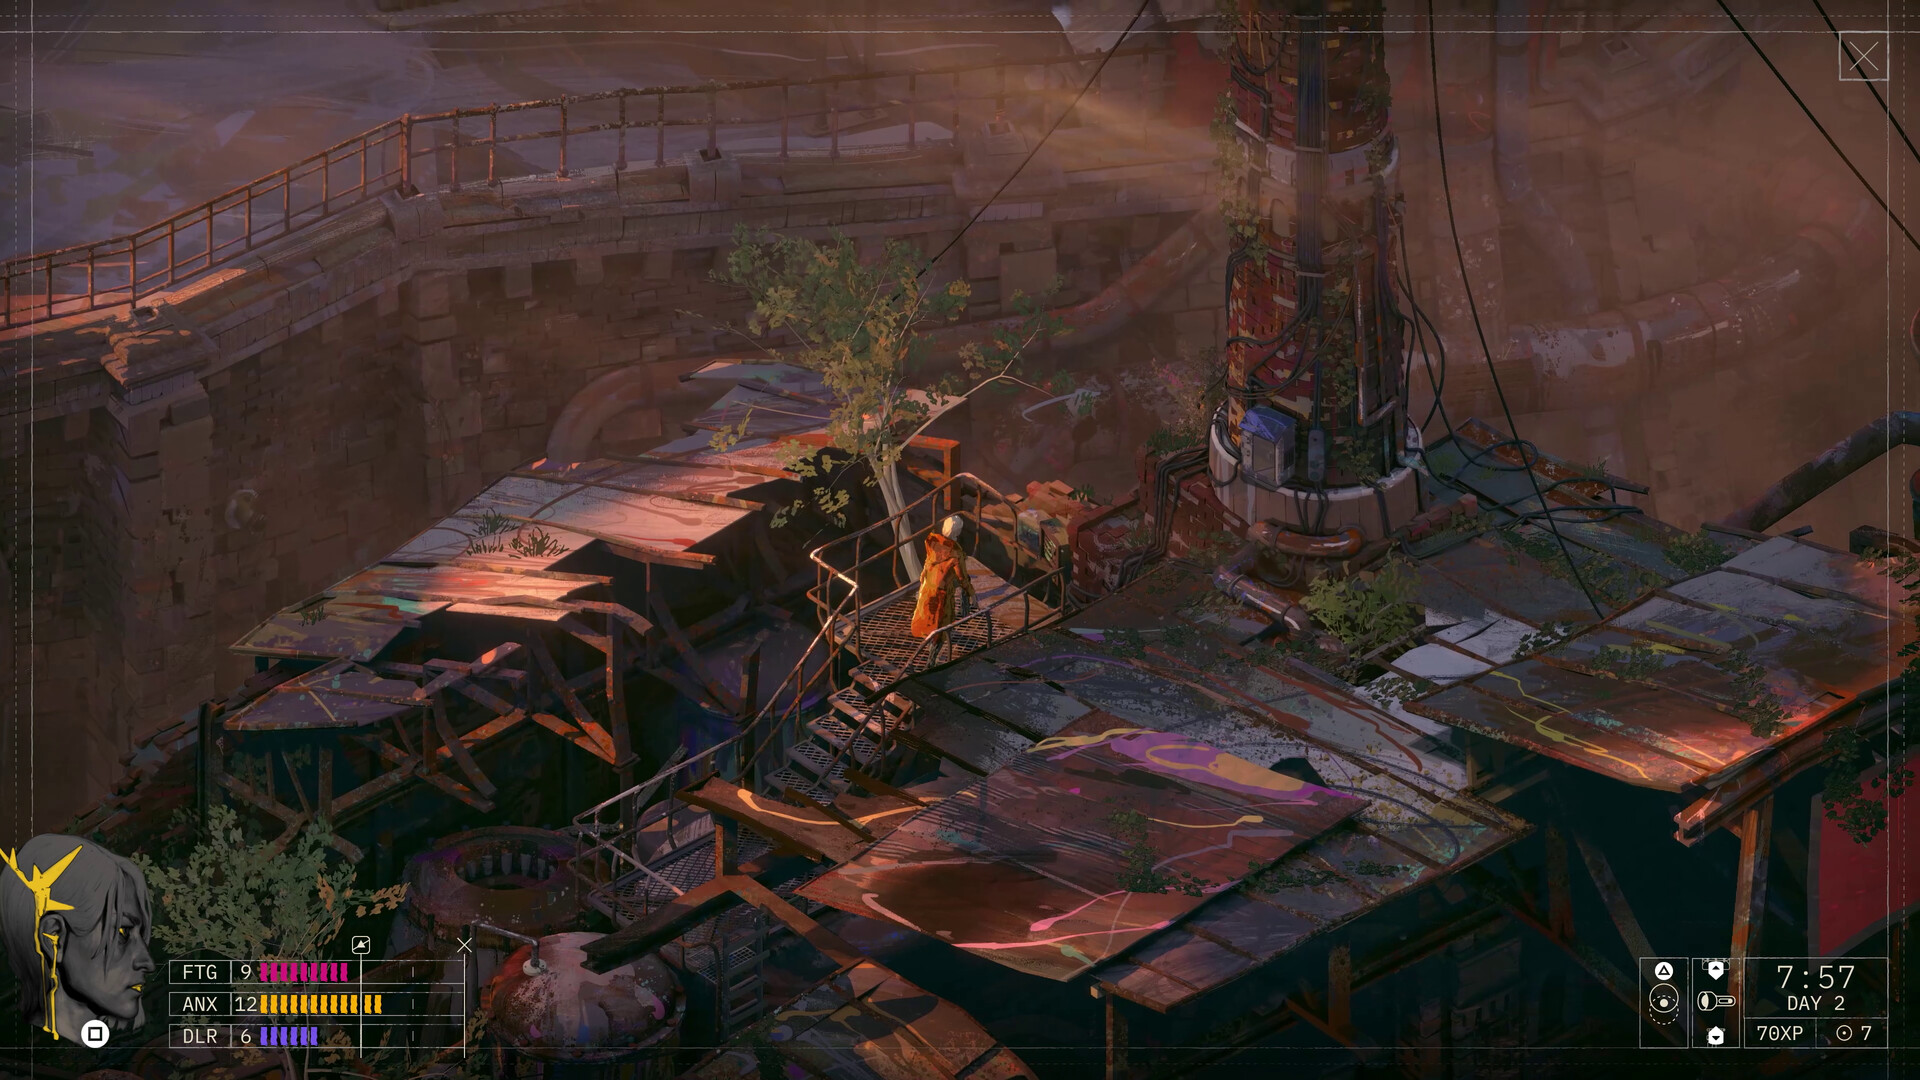
Quick Answer
Fatigue builds from exertion and physical checks. Anxiety rises in tense conversations and uncertain areas like the Old Docks. Delirium accumulates from extreme events and repeated failures. To recover: rest at the safe house between major leads, use Rumba! Canned Coffee for quick fatigue relief, and avoid stacking exertion before route-critical scenes.
Spoiler-Light Hint
If your spy is spiraling, stop forcing high-stakes interactions and clean up safer leads first.
Full Guide
Fatigue
Physical and mental tiredness that accumulates through exertion, long investigation sessions, and failed physical checks. High fatigue can reduce check reliability and affect dialogue availability. Rest at the safe house between major leads. Rumba! Canned Coffee and Perro Pale provide temporary fatigue relief.
Anxiety
Social and situational unease triggered by tense conversations, uncertain environments, and faction pressure. High anxiety can make social checks harder and may change how NPC intentions read. Use safer dialogue options to reduce it gradually. The Bootleg Bazaar is a lower-pressure area for recovery.
Delirium
The most dangerous stress state. Builds from extreme events, repeated failures, and pushing exertion too far. At high delirium, your perception of reality may shift, opening hidden insights but also causing severe penalties. Cross-checked from community reports. The safe house is the most reliable delirium recovery spot.
How to Lower Anxiety
Anxiety comes from tense conversations, uncertain areas, and faction pressure — and it is the easiest gauge to recover if you know the spots. The fastest trick is the red phone booth with the dolphin sign at the Bootleg Bazaar entrance: interact with it twice and each check removes anxiety, for up to 3 points total. Five hidden shrines across the city let you meditate with humble or introspective dialogue options, which lowers anxiety and clears mental fatigue. The Bootleg Bazaar itself is a low-pressure area, so switching to safer dialogue there recovers you gradually while you keep making progress. Before any faction negotiation — the highest-anxiety scenes in the game — rest first at the safe house, because sleep resets one gauge per night from the bottom up.
How to Lower Fatigue
Fatigue builds from exertion, long investigation sessions, and failed physical checks. The fastest fix is consumables: Rumba! Canned Coffee, Jefa Red & Black Blend, and Camisado Ultra Sweet all reduce fatigue, and the Thought "Latest Synthetic Desires" boosts recovery by 1.33x. You can also use deep breathing on the spot to shave fatigue without spending items. For a bigger swing, order coffee at the Fogged Glass bar — it removes 5 fatigue but adds 3 anxiety, so treat it as a trade-off, not a free heal. Rest at the safe house between major leads, and save consumables for before Old Docks exploration and other fatigue-heavy stretches.
How to Lower Delirium
Delirium is the most dangerous state — it compounds fastest from repeated failed checks and from pushing exertion too far. The reliable recovery is safe house sleep: overnight rest resets one gauge per night from the bottom up, so a full reset takes a few nights if multiple gauges are high, and some safe-house activities specifically reduce delirium. Critically, stop pushing exertion once delirium starts climbing — each extra push risks compounding the spiral into something unrecoverable. Rest before the ~15 danger line, not after it spikes, because at max delirium the game permanently lowers one related skill before resetting the gauge.
Exertion
A mechanical tool that lets you push dice results beyond normal limits. Every exertion point spent risks adding fatigue or other lasting damage. Use exertion for critical checks you cannot afford to fail, not for routine tasks. Make a manual save before pushing a route-defining check.
When to push vs when to rest
Push exertion only when: the check gates important story progression, you have a safe place to rest afterward, and you have backup saves. Rest before major scenes if stress is already high — especially before Karolina or Ramses recruitment, faction negotiations, and any scene with irreversible dialogue. Also rest when entering a new major area or when you have multiple unresolved leads.
Stress and Conditioning
Conditioning changes can alter how your character processes stress. Some conditioning effects appear to trade one stress type for another. Check your character sheet after major story events and save before accepting major conditioning changes until exact values are verified.
Recovery items and locations
Rumba! Canned Coffee reduces fatigue. Perro Pale helps with mild stress. The safe house is the most reliable full-recovery point. Bootleg Bazaar vendors sometimes stock recovery items after story beats. Always check Goat Eyes' inventory after major missions. Rest before recruitment scenes, not after — a well-rested spy has more dialogue options.
What happens when a gauge maxes out
Each gauge is your safety net. Once a gauge fills, that category blocks Exertion — you lose your push-your-luck option. If it hits the danger line, the game permanently lowers one related skill (for example, maxed Anxiety can permanently reduce Statehood, Cold Read, or Nerve) before resetting the gauge. There is no traditional game-over: your spy survives, but a permanently weakened skill makes every later check in that category harder. Cross-checked from community reports. The best recovery is prevention — rest before a gauge approaches the ~15 danger line rather than after it spikes.
How to Lower Each Gauge (Quick Reference)
😰 Lower Anxiety
Red phone booth (dolphin sign, Bazaar entrance): check it twice → −3 Anxiety
Hidden shrines (5 across the city): meditate with the humble / introspective dialogue options → lowers Anxiety and clears mental fatigue
Bootleg Bazaar: lower-pressure area; use safer dialogue options to recover gradually
🪫 Lower Fatigue
Consumables: Rumba! Canned Coffee, Jefa Red & Black Blend, Camisado Ultra Sweet (Thought «Latest Synthetic Desires» boosts recovery ×1.33)
Deep breathing: reduces Fatigue on the spot
Fogged Glass bar coffee: −5 Fatigue but +3 Anxiety — a trade-off, not a free heal
🌀 Lower Delirium
Safe house sleep: overnight rest resets the gauges one per night, from the bottom up
Stop pushing exertion — delirium compounds fastest from repeated failed checks
Rest before the ~15 danger line, not after it spikes
| Method | Lowers | How to find it |
|---|---|---|
| Safe house sleep | All gauges | One gauge per night, resets from the bottom |
| Rumba! Canned Coffee | Fatigue | Consumable; Perro Pale also helps with mild stress |
| Red phone booth (dolphin sign) | Anxiety −3 | Bazaar entrance — check it twice |
| Hidden shrines | Anxiety / mental fatigue | 5 across the city; humble / introspective dialogue |
| Fogged Glass coffee | Fatigue −5 | Costs +3 Anxiety (trade-off) |
Common Mistakes
- Ignoring stress until a major check — high stress can reduce options exactly when you need flexibility.
- Burning consumables like Rumba! Canned Coffee too early — save them for before recruitment scenes and faction negotiations.
- Using exertion on trivial checks instead of saving it for route-defining moments.
- Assuming every stressful scene should be avoided — some dialogue and hidden insights may appear only under pressure.
Related Guides
FAQ
Can stress lock me out of content?
Yes. High anxiety can lock or change social dialogue options. High delirium can shift your perception, sometimes revealing hidden insights but also causing severe check penalties. Save before major scenes until you understand your character's limits.
Should I always reduce stress?
No. Reduce it when it blocks clarity or locks dialogue; preserve the drama when you're exploring a roleplay route. Some narrative paths intentionally require moderate-to-high stress — the game rewards leaning into pressure at the right moments.
How do I recover from high delirium?
Rest at the safe house for full recovery. Rumba! Canned Coffee helps with fatigue but won't fix delirium alone. Some safe-house activities specifically reduce delirium. Avoid pushing more exertion checks until you've recovered — stacking delirium on top of delirium can create an unrecoverable spiral.
What happens if I push exertion too far?
Each exertion point beyond your safe threshold can add fatigue and increase the risk of delirium. The damage can compound quickly, so avoid stacking exertion on routine checks and make a manual save before a route-defining push.
Which areas cause the most stress?
Faction negotiation scenes cause the highest anxiety. The Old Docks and late-game areas cause fatigue. Delirium spikes during extreme story events and repeated failed checks. Rest before entering any of these if stress is already elevated.
Related Entities
Last updated: July 9, 2026